
This post is a bit different from my usual sewing projects, but I’ve gotten a lot of questions on other social media sites on how I style my hair and I think that making a blog post on the topic is the best way to cover all aspects of hair care and hairstyling that I’ve discovered works good on my hair type. Over the last six years or so of dressing vintage, I think my hairstyling has improved. I mean, we have gone from these:

It was a rough day

My mom always told me to never brush out my curls because they will disappear, so my first few times pin curling, I literally went to school looking like this. It’s just… so… so embarrassing…
To this:
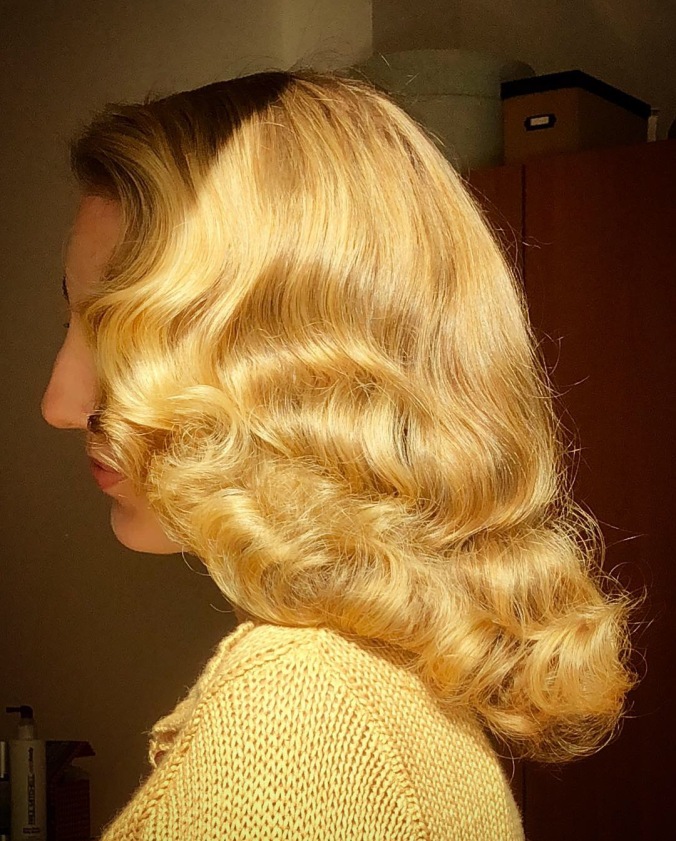
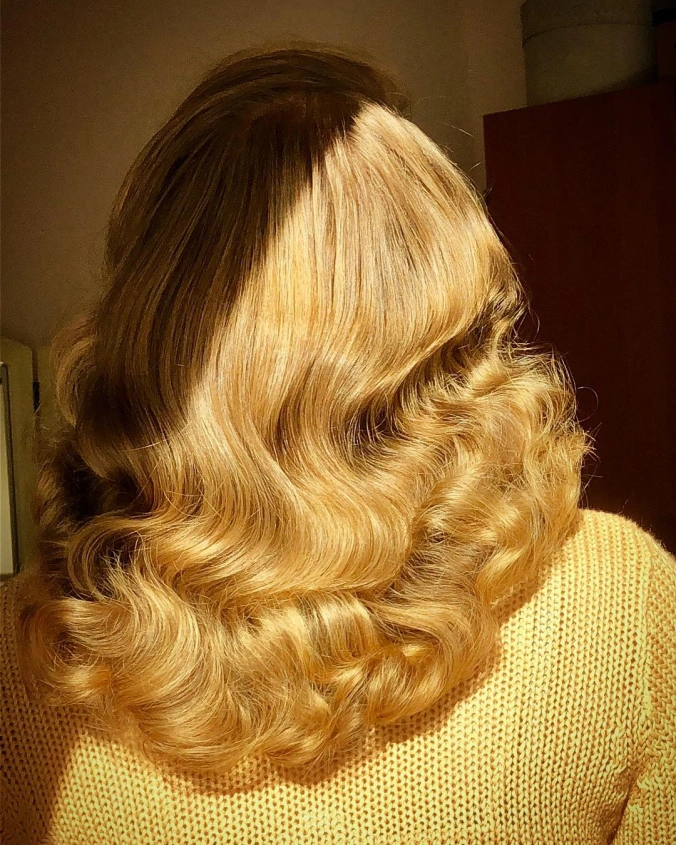
Its a little better, don’t you think?
When I was first wanting to dress more retro, there wasn’t as many resources online on styling vintage hair as there is now, and it was even harder finding more authentic styles, as oppose to the more modern pinup hairstyles. Instagram was still in its beginning stages, YouTube didn’t have as many tutorials as it does now, and I didn’t know about Facebook hair groups. It’s awesome how much the style has been booming the last five years and has formed such a positive online community.
I’m actually appreciative of not having as many resources though, because it taught me that the best way to look how I truly wanted to look, was just trial and error. I experimented with many different setting patterns and different curlers, and different hair cuts and hair products. Sometimes it turned out okay, other times… not so much.
So this is my best advice – just keep giving it your best shot, learn from what’s working and what’s not, and don’t be afraid to experiment! We all have such different hair types, hair cuts, lifestyles etc. so the best way to find what works best for you is to just start working on it! Don’t expect perfection at first, it takes time!
So now it’s time to get into the dets:
Hair Type
Our hair types definitely determine what we can achieve with our wet sets and how we should go about taking care of our hair.
My hair is naturally very straight, very fine and rather thin. Because it’s so straight, I don’t have any issues with my natural oils distributing themselves down the hair shafts, so it looks oily by the next day. I also don’t dye my hair or put much heat to it. Therefore, my hair is extremely healthy, which equals to making it harder to hold volume and curl. There’s no hope with a curling iron or hot rollers for me. If there’s no hair product, my hair feels exactly like baby hair – it’s that soft and that lacking of texture. It just drives me crazy!

What my hair looks like when it’s straight
Hair Care
Because my hair is fine, I can’t put heavy products that could weigh it down or make it look any oilyer. I wash my hair with a simple drugstore shampoo and then spritz my hair with a dilution of apple cider vinegar and water. I haven’t used conditioner in five years now, because I realized, for me, it was making my hair more dried out and very staticky and it made my hair look greasy. If you do want to try out the vinegar rinse route, please make sure it’s 50% vinegar and 50% water . Vinegar is still acidic and too much can damage the hair. I also have tried nixing shampoo and using baking soda instead (Yes, I read that propaganda on Pinterest too) but it never improved my hair and after researching more into it, I learned that it’s actually abrasive to the hair and not recommended.
I wash my hair about 3 times a week. Once a week, before I hop into the shower, I use a mixture of jojoba oil and rosemary oil and massage it into my temples and run the remnants through my hair. I leave that in for about 10-20 min. I started applying this mixture last year, because I was experiencing some hair fall out due to stress, so I did the oil treatment and was taking prenatal vitamins (prescribed by my doctor for other reasons, but it does have biotin in it and helped with my hair as well). I got some hair growth from it and my hair doesn’t fall out as badly anymore.
• A quick word on prenatal vitamins/ biotin pills. If you have a thyroid problem or are about to get your thyroid levels tested, please disclose with your doctor that you are taking biotin, because biotin can interfere with your thyroid levels. You can find more information here
After the shower, I wait until my hair is about 70% dry and then I add Big Sexy Hair root plump plus to my roots for some texture and volume (seriously the best root lifter ever) and then blow dry it upside down before I begin wet setting. Some may find that a wasteful task because I’m going to wet my hair again soon afterwards. Maybe it is silly, but I want to lock in as much volume as I can and I think (maybe it’s not true) that the blow drying helps activate the mousse to work better and takes away the stickiness of it.
Hair cut

I’m due for another cut, but the last time I did cut it, the stylist sat down with me and we discussed what would be best for what I was going for and my hair type. She knows the Middy very well and knows that in reality, it’s a shag cut. Also it’s very very short. Even the Femme Fatale, which is the longest middy cut, is only six inches from the head, all around. It doesn’t work for everyone, unless you’re truly dedicated to having your hair curled in the 50s style every single day. Although my hair is curled almost always, my stylist said that because my hair is so straight, that that many layers wouldn’t be great. So we decided for now, I would have a deep U shape cut with absolutely no layers.


My bangs are about chin length. It’s good to have the front part to be a lot shorter than the back, so that you can have smaller waves framing your face. The horseshoe is a spectacular cut if you’re going for a 1940s or a 1960s hairstyle. It also is a lot easier for most hairstylists to understand what you’re going for and to to cut it. Lastly, it helps make thin hair look fuller and thicker. I’ve had this cut essentially the same in varying lengths for over a year now and here’s what it looks like on shorter hair:

They See Me Rollin’
Okay now for the wet set! I like to sit on the couch and turn on some Netflix while I’m rolling my hair. I usually use a dilution of Lottabody and water in a spray bottle. The Lottabody instructions state 1 part solution to 2 parts water. I found that it was too heavy for my hair, so now I use a few drops for every 8 oz. I lightly spritz the strand, focusing mostly on the ends. Motions foaming wrap is also a great setting lotion, but I don’t like having to get my hands cold, wet and sticky, so I haven’t used that one in a long time.
Pin curling is awesome, because it gives a much more authentic vintage style and it’s easier to follow 40s and 50s setting patterns and styles. Pin curls worked best for me when I lived in a dry climate. In the past two years, I’ve lived in much more humid areas and pin curls just don’t hold as much curl for me as I need, so now I resort to foam rollers.
1 inch foam rollers are the most popular and they seem to work great for most hair types. But I have to use 3/4 inch foam rollers because my hair curls much better with them.
• If your hair is straight and fine like mine, I’ve discovered it’s best to use smaller rollers, roll smaller strands and use more rollers.
Gotta break a few eggs to make an omelette!
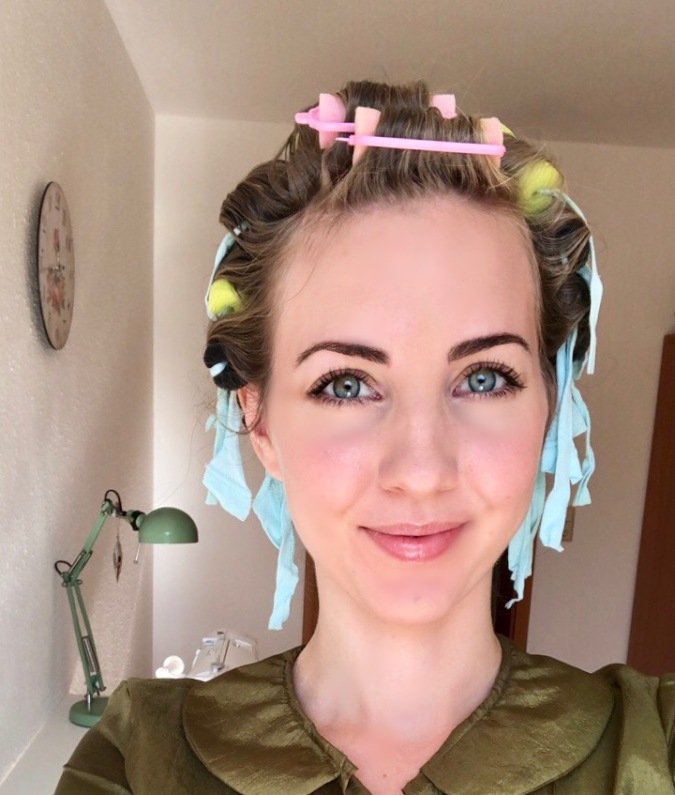
I’m a light sleeper, so I need to be as comfortable as I can be. I’ve taken out most of the plastic clasps from my rollers and inserted strands of cloth from an old shirt into the holes. So, all I have to do is roll my hair up, cross the two ends of cloth and place a curved bobby pin (not the bumpy, normal ones. Those are uncomfortable to sleep in for me!) through the cloth. This holds my rollers in place so much better than the plastic clasps ever did and it’s a lot better to sleep in!
When I’m doing the back of my head, I run out of regular foam rollers and have to resort to pillow rollers. I don’t find them very comfy, which is why I only use them in the center back. I’m a side sleeper, so I don’t have to feel them.
I have discovered that separating each strand of hair horizontally, makes it harder to brush out those lines the next morning. So I divide the strands diagonally, which works like a charm.

I don’t use a specific setting pattern. I just try to jam in as many as I can around my face.
The only areas I use the clasps for are the bangs and the very nape of my neck. For the bang area, I use 1/2 in rollers because I want a tighter curl around my face. Those horrible clasps that don’t stay put too well, so I do a trick that I learned from the Vintage Vanity on YouTube: I insert a pin curl clip to pin the clasp down. I have to use the clasps for the nape of my neck as well, because there’s not enough hair for the pins to grip on to.
I then tie a scarf over all the rollers to hold them in place and let them dry overnight.
• When a more authentic 1940s style, don’t roll the back rollers all the way up to the crown. The 40s hair styles didn’t focus so much on volume, so start curling the hairs at the very bottom and then working your way up, stopping halfway at the head. Like this photo shows here:

The Brush Out

What I Use:
Denman styling brush
Comb
Teasing brush
Hand mirror
Alligator clips
Elnett Hairspray
Jojoba oil (occasionally)
Its important that when you’re taking out the rollers, to make sure that they are all completely dry. That will ensure longevity and bounciness in your curls. I like to leave my rollers in for 9-11 hours. If one is not completely dry, roll it back up and use your blow dryer for five to ten minutes all over the head and then wait until your hair is cooled down to take them out. To prevent the rollers from not being too damp in the morning, only lightly spritz the very ends before rolling your hair and either don’t use a head scarf or find one that is sheer so the hair can dry better.
When my rollers are out, I like to run my fingers through my hair to break apart the separations of curls. Then I use my Denman styling hair brush, because it’s a great one to break up the curls. If your curls are very crispy, use a bit less Lottabody in your setting lotion next time.
Once my hair is forming into the waves that I want to see, I grab the ends of the hair and brush them against my palm to smooth out the frizziness and to guide the hair to form together inwards.
Sometimes, I use a small dollop of the jojoba oil (it’s the lightest weight oil) and softly glide my hands down my hair to help with the frizziness.
If my hair is wanting to stay in a spiral form and not mold together, I grab my teasing comb and pull the ends downwards and lightly tease them underneath and then smooth out the outside. That also is great to add more fluff to the bottom.

When I’m getting near the end, my focus is making sure all the hair falls together and there’s no separations. So, I put the brush down and rely on the comb, because the styling brush is used to break up the curls and the comb is great for a more gentle brush out to group the hair together. Remember to use your hand mirror to check the back of your hair. That’s where I always tend to find gaps of hair that I have to brush through. I lightly brush the ends that are still frizzy until I’m satisfied.
I don’t use alligator clips all over because I like my hair to be more free form. However, I use one or two on my bangs to secure in the S wave. I lightly tease the bangs at the roots (any more teasing and I start loosing the curl), spritz some hairspray and smooth the section back, slide an alligator clip inwards and then encourage the wave to come back forward and smoothing out the rest of the strand with the comb.
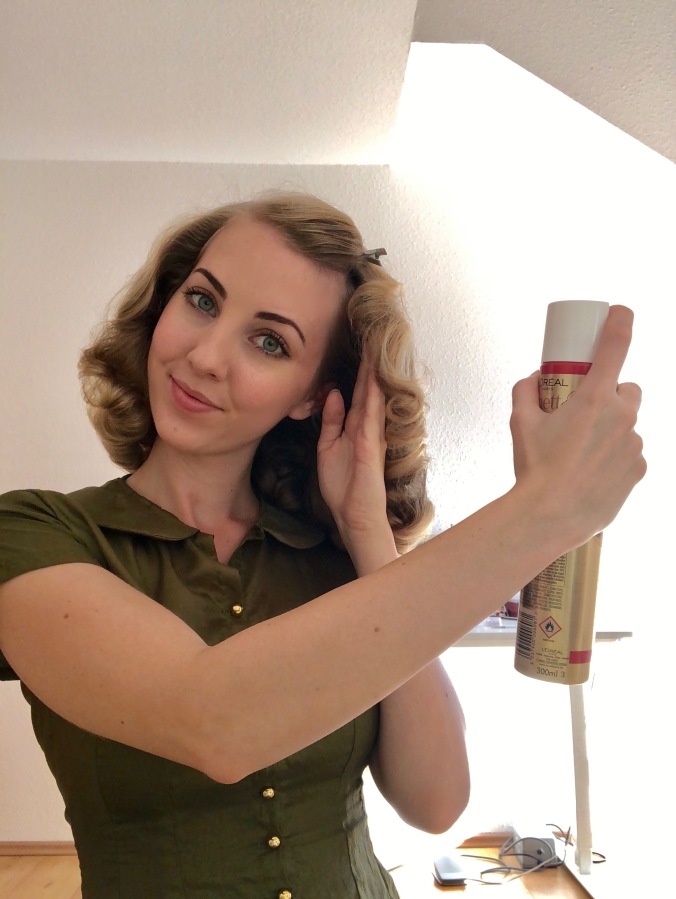
Then I use my handy dandy hairspray and spray it all over my head, focusing more on the ends and the front.
And there you have it! A lot of people have told me that it must take me forever to get my hair like this, but honestly, once I got used to it, it really doesn’t take that much time. Rolling it takes about 30-40 min, but I’m usually watching a show, so the time goes faster and taking out the rollers and the brush out takes about twenty minutes, and then my hair is great for two to three days.
I hope this helps anyone who has been experiencing similar issues! Let me know if you have any other questions!
Until next time,
Cheers, darlings!

 I loved it all and soon began to develop my aesthetic within the realm of the retro style.


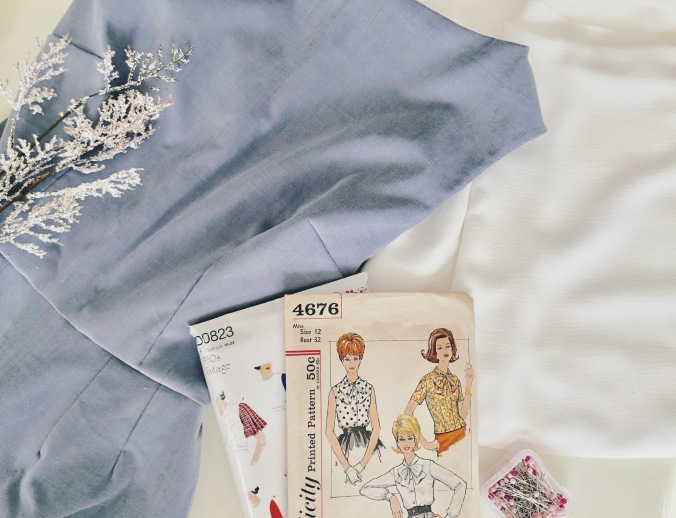


 I made it my resolution this year that I would truly challenge myself as a seamstress. I wanted to push myself to expand my creativity, learn new techniques and patterns and hone in on my skills. I think towards the end of the year, I’ll make a post about all the articles of clothing that I’ve made for 2017 that had exposed new elements for me to learn.


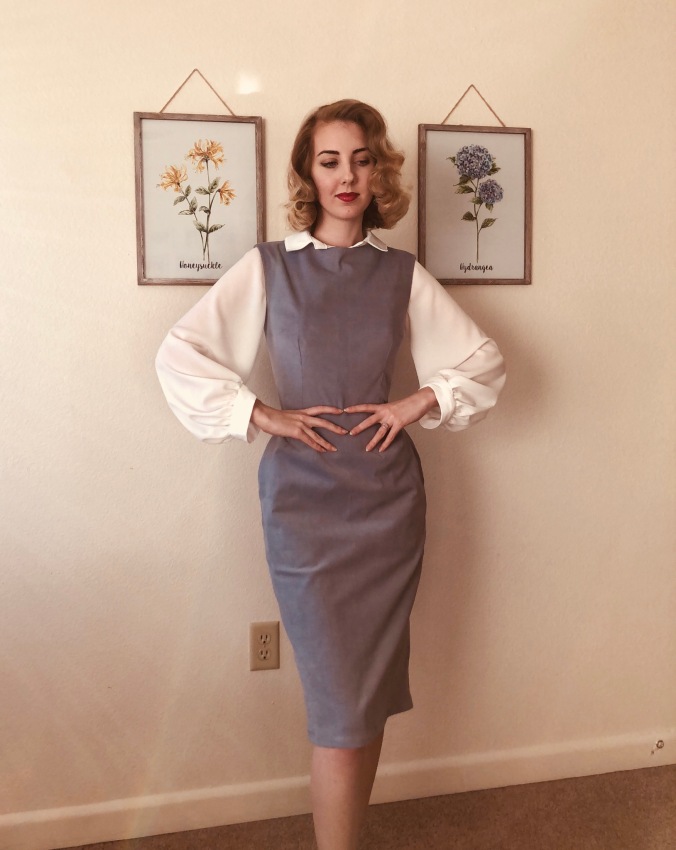
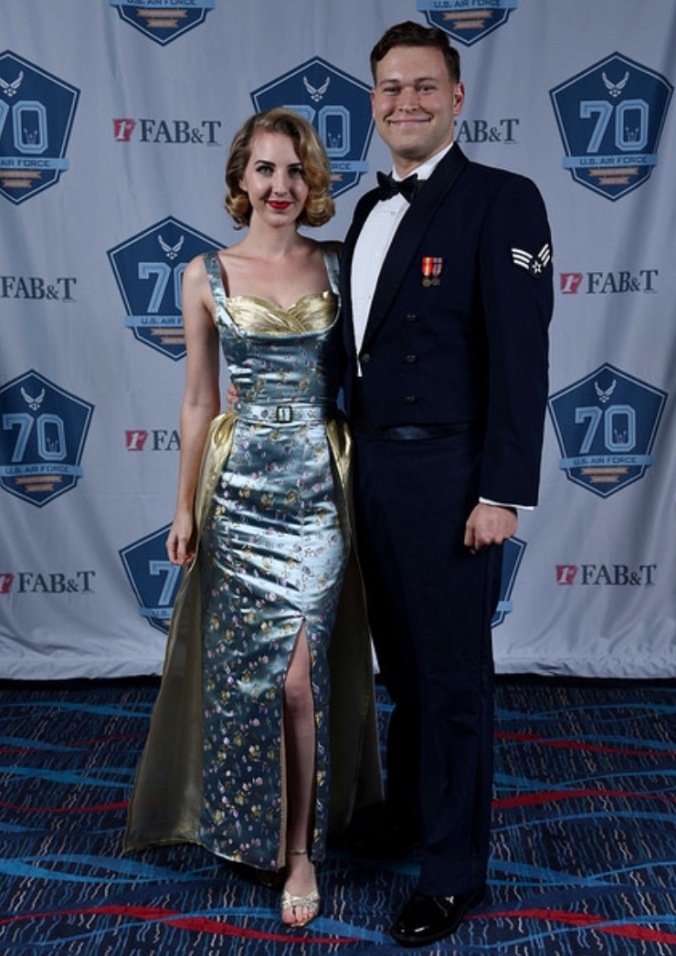
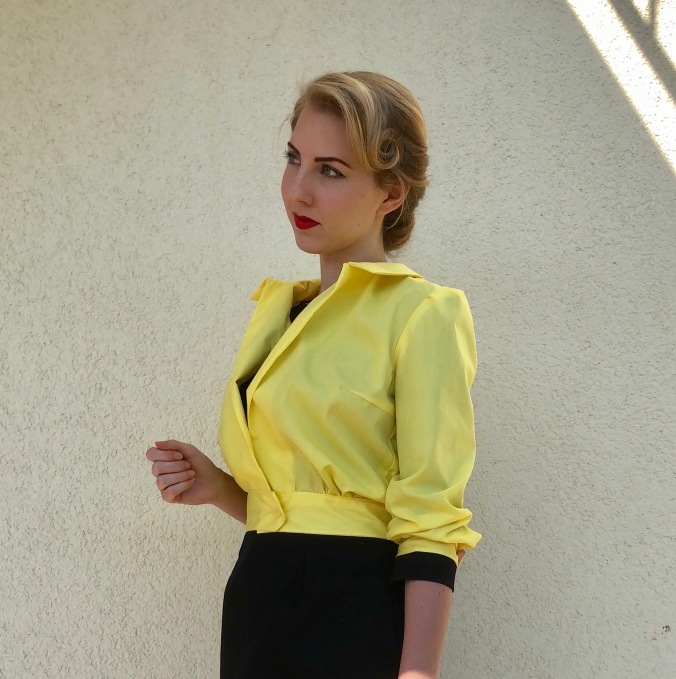
 Then I had to make gold inserts in the front to hid the part where the bra cup is attached to the strap. I honestly had to make quite a few inserts, handstitching them to the lining, trying it on, having it not work, ripping them out and starting the process over again.
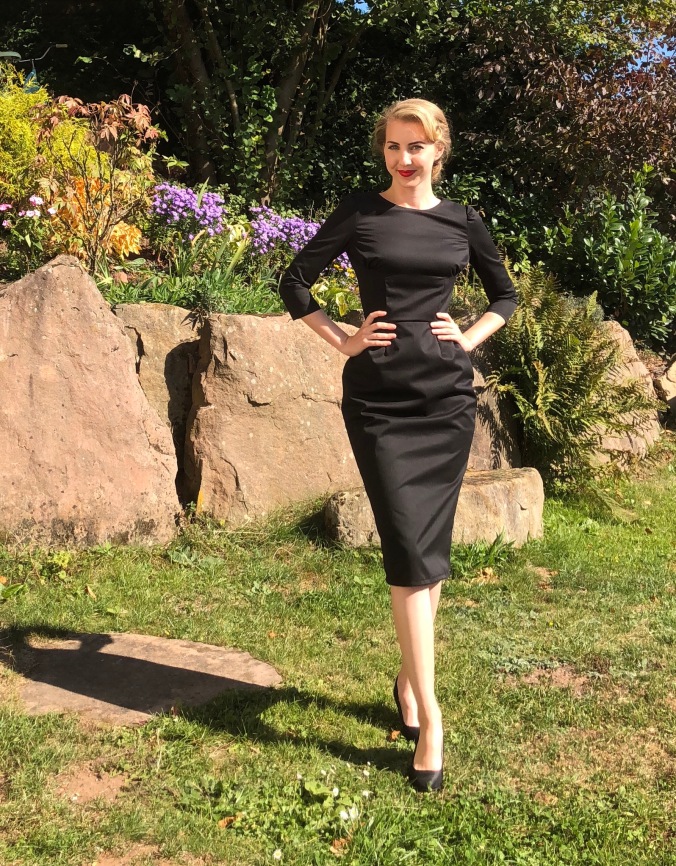
 However, I still am totally in love with this dress. It is more than just an evening gown. It represents the grueling three weeks I spent working on it while going through a handful of stressful events and stress-induced sicknesses. If there is one way to showcase perseverance, it’s this garment.
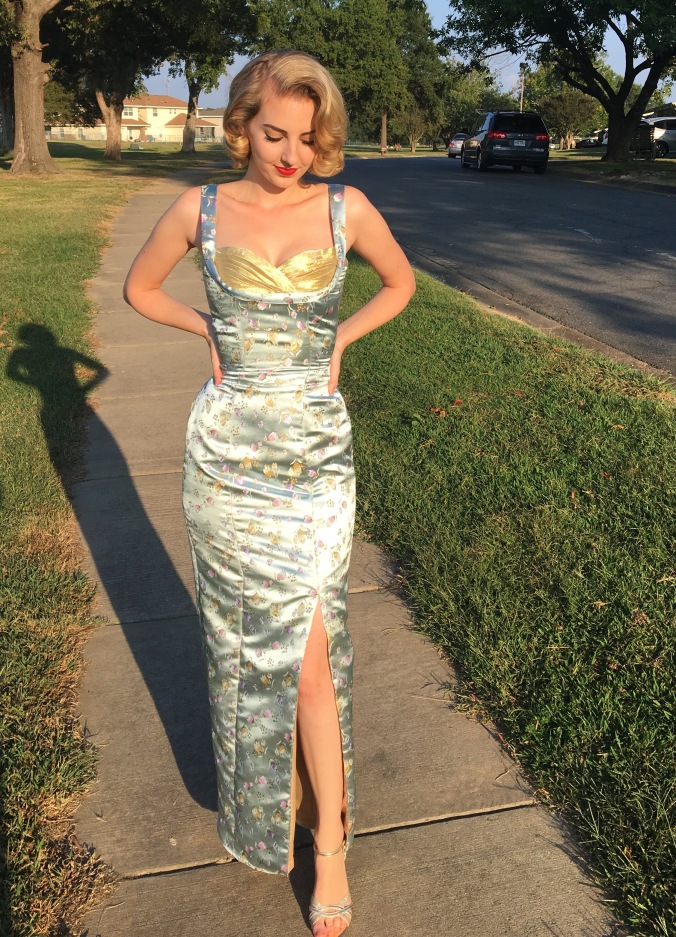


![IMG_8775[1]](https://sewingsirenblog.files.wordpress.com/2016/06/img_87751.jpg?w=676)
![IMG_8746[1]](https://sewingsirenblog.files.wordpress.com/2016/06/img_87461.jpg?w=455&h=683)
 Naturally I made my own changes to the dress. As I always do, I researched the pattern on Google to see how other sewers recreated it, because honestly, how true to form is that drawing of the dress??
![IMG_8789[1]](https://sewingsirenblog.files.wordpress.com/2016/06/img_87891.jpg?w=676)
![IMG_8791[1]](https://sewingsirenblog.files.wordpress.com/2016/06/img_87911.jpg?w=671&h=447)

![IMG_8786[1]](https://sewingsirenblog.files.wordpress.com/2016/06/img_87861.jpg?w=676)
![IMG_8788[1]](https://sewingsirenblog.files.wordpress.com/2016/06/img_87881.jpg?w=676)


